Build a Garden Tool Rack from Scrap Wood
Keeping garden tools organized can be a real challenge, especially when space is limited or your shed looks more like a jumbled closet than a workshop. That’s why I decided to build a garden tool rack from scrap wood—a simple, satisfying project that turned my chaotic tool corner into a neat and accessible display. Not only did it cost next to nothing, but it also helped me clear out some scrap wood that had been piling up for far too long.
Whether you’re tired of tripping over rakes or always losing your trowel, this project is perfect for putting neglected wood to good use and giving your tools a proper home. With a bit of measuring, cutting, and creativity, you can build a garden tool rack from scrap wood that keeps everything off the ground and easy to grab.
Here’s how I went from cluttered mess to garden-ready organization with just a few tools and a pile of scrap.
Plan the Layout and Choose the Tools
The first step was deciding where the rack would go. I chose a wall in my garage, but you could easily mount it inside a shed or even on an exterior wall if you use the right sealants. Once I picked the spot, I measured the width and height I had to work with.
I wanted room for long-handled tools like rakes and shovels, as well as smaller hand tools like trowels, shears, and gloves. The layout would include vertical slots for the big items and hooks or shelves for the smaller stuff.
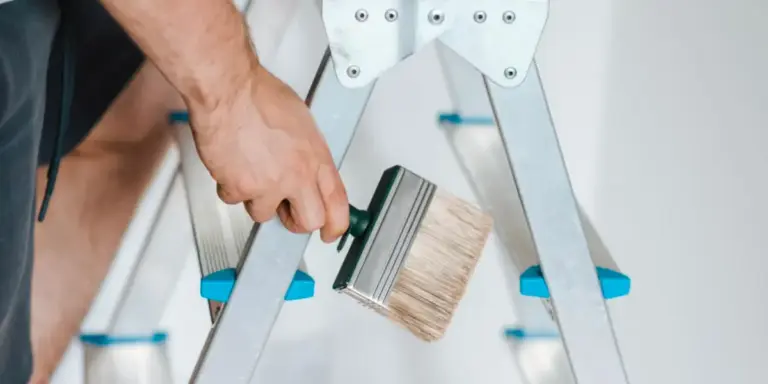
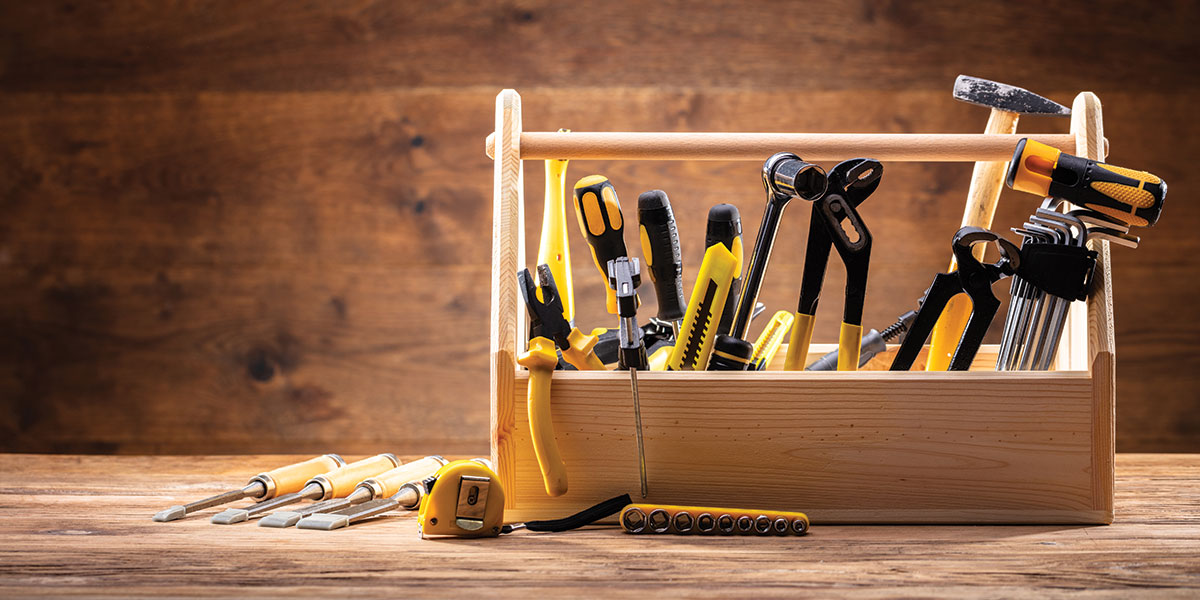
To build a garden tool rack from scrap wood, I gathered a few basic tools:
- Circular saw or handsaw
- Drill and drill bits
- Tape measure
- Level
- Wood screws
- Sandpaper
- Pencil
- Clamps (optional but helpful)
With those tools ready, I moved on to choosing the actual scrap wood pieces.
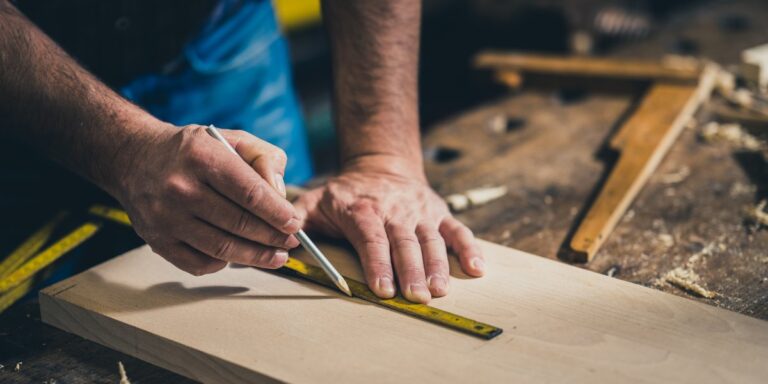
Sort and Prep Your Scrap Wood
I’ve always had a pile of offcuts and leftover boards from past projects, and this was the perfect chance to finally use them. I pulled out some 2x4s, a few plywood panels, and a couple of narrow strips that would serve as rails and supports.
The key was making sure the wood was still solid—no rot, no warping, and nothing too split or damaged. I gave each piece a light sanding, just enough to knock off any splinters or rough edges. I wasn’t aiming for fine furniture, but I still wanted a clean, safe finish.
If you want to build a garden tool rack from scrap wood, don’t worry about everything matching. A little variety in the wood types or tones gives the finished rack a rustic, functional charm.
Construct the Main Frame
I started by building the frame that would hold the entire rack together. I used two vertical 2x4s about four feet long and attached two horizontal cross pieces—one at the top and one about 12 inches from the bottom. These created a strong rectangular frame that would mount directly to the wall studs.
I drilled pilot holes and drove screws through the horizontals into the verticals, making sure everything stayed square with a level. Once the frame was built, I could start planning where each tool would go.
To build a garden tool rack from scrap wood that actually works well, it’s important to think about how your tools hang and how often you use them. I grouped mine by size and frequency of use, putting the most-used tools at arm’s reach.
Add Tool Slots for Long Handles
For the long-handled tools, I used a pair of horizontal rails spaced about 18 inches apart. The top rail would cradle the handles, while the bottom rail would stop them from swinging or falling forward.
On the top rail, I measured and marked equally spaced slots about 2 to 3 inches wide—big enough for rake or shovel handles. I cut these out using a jigsaw, forming U-shaped notches where the handles could rest.
Then I attached the rails to the inside of the frame with wood screws, making sure they were level. Once mounted, I could drop each handle into a slot and lean the base against the bottom rail. It worked like a charm and looked great, too.
To build a garden tool rack from scrap wood that can handle weight, I made sure to screw the rails securely into both sides of the frame and reinforce the ends with extra screws.
Add a Shelf or Box for Small Tools
Next, I built a simple open shelf to hold smaller tools like hand trowels, seed packets, gloves, and string. I used some leftover plywood to make a shallow box—about 6 inches deep and 24 inches wide—with sides that were nailed and glued together.
I mounted this shelf just above the top rail, so it wouldn’t interfere with the long-handled tools. The space worked perfectly to catch all those items that usually got lost in drawers or bins.
If you want to build a garden tool rack from scrap wood and include storage for odd-shaped items, this is where you can get creative. Add dividers, small hooks, or even repurpose old jars or cans to create sections for different tool types.
Add Hooks for Hanging Items
For items like pruning shears, hose nozzles, and coiled extension cords, I added a row of hooks to one side of the frame. I had a few sturdy metal hooks left over from another project, but you could easily make wooden pegs or use nails if you don’t have hooks.
I screwed these into a horizontal strip and mounted it along one side of the rack. It added even more versatility and used up the last of my shorter scrap pieces.
One of the things I love about choosing to build a garden tool rack from scrap wood is how easily it evolves as I go. I didn’t have to stick to a rigid design—I adjusted based on the wood I had and the needs I discovered along the way.
Mount the Rack to the Wall
Once the entire rack was assembled, I held it against the wall and marked where the screws would go into the studs. I always use a stud finder for this step; a rack like this needs to be anchored into solid wood, not just drywall.
With a helper holding the rack in place, I drove 3-inch screws through the vertical frame pieces and into the studs. I added a few washers for extra grip and double-checked that the rack was level.
Once it was secure, I started loading it up with my tools. It held everything perfectly, and I couldn’t believe how much floor space I freed up just by getting everything onto the wall.
Customize and Finish (Optional)
If you want to take things a step further, you can add a few finishing touches to personalize the rack. I painted mine with a coat of exterior-grade white paint since it’s in a damp garage. You could stain it, add labels, or even stencil tool names over each slot.
Another cool option is adding a fold-down workspace or a hinged bench section for sharpening tools or doing light repairs. I didn’t add one to this version, but it’s definitely something I’ll consider next time.
What matters most is that you build a garden tool rack from scrap wood that meets your specific needs. It doesn’t need to be fancy—it just needs to be functional.
Benefits of Scrap Wood Projects
Using scrap wood not only saved me money, but it also reduced waste and made me feel good about repurposing materials that would have otherwise collected dust. Every board in this rack had a past life in another project, and now they’ve come together to serve a new purpose.
Plus, there’s something incredibly satisfying about solving a problem with what you already have. No store runs, no big expenses—just good old-fashioned DIY.
Final Thoughts
Choosing to build a garden tool rack from scrap wood turned out to be one of the most rewarding weekend projects I’ve done in a while. It helped me get organized, tidy up my space, and put materials to good use that had been sitting idle.
If you’ve got a cluttered garage, a pile of scrap wood, and a little bit of time, this is the project for you. It doesn’t take expensive lumber or fancy tools—just a solid plan and a few hours of hands-on work.
You’ll be amazed at how much better your space feels when every shovel, hoe, and hand tool has a home. So take the plunge, make the cuts, and build a garden tool rack from scrap wood that’s sturdy, smart, and tailored to you. It’s a small project that delivers big results—and makes working in the garden that much more enjoyable.