How to Replace a Light Fixture Safely
Replacing a light fixture might seem intimidating, especially when electricity is involved, but with the right preparation and attention to detail, it’s a surprisingly manageable DIY project. Whether you’re updating the look of a room or swapping out a broken fixture, knowing how to replace a light fixture safely is a valuable skill that can save both time and money.
In my experience, the most important part of this job isn’t the wiring or the mounting—it’s the safety. You don’t need to be an electrician to do this properly, but you do need to follow clear steps and respect the process. Let’s go through everything you need to do this job safely and successfully, from the tools you’ll use to the final bulb you screw in.
Gather the Right Tools and Materials
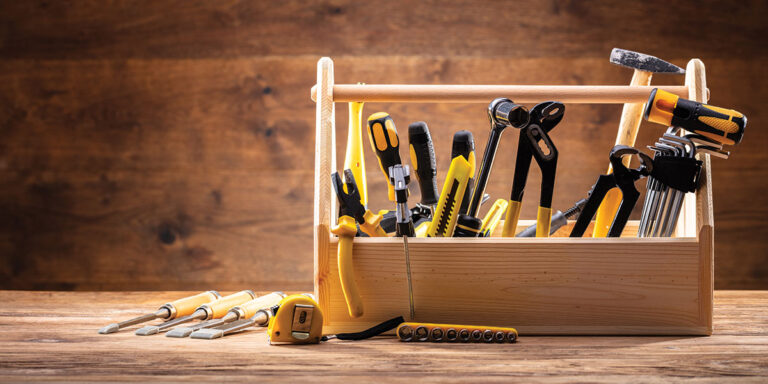
Before I begin any electrical project, I gather all the necessary tools and supplies. It keeps me focused and reduces unnecessary trips up and down the ladder. Here’s what I typically keep on hand:
- Voltage tester
- Screwdrivers (Phillips and flathead)
- Wire strippers
- Wire nuts (connectors)
- Electrical tape
- Ladder
- Flashlight or headlamp
- New light fixture
- Safety gloves and goggles
These tools help ensure every step is done securely and correctly. Having them within reach lets me move through the replacement process without rushing or taking shortcuts.
Cut the Power Completely
The absolute first thing I do is turn off the power at the circuit breaker. I don’t trust wall switches alone—they can be misleading. Once I’ve flipped the breaker that controls the light fixture, I go back to the room and flip the light switch to double-check that the power is off.
Even then, I still use a non-contact voltage tester to check the wires at the light fixture. If the tester shows no voltage, I know I’m safe to continue. This step is crucial and is at the heart of how to replace a light fixture safely. Electricity is invisible and dangerous; taking the time to verify it’s off is a step I never skip.
Remove the Old Fixture Carefully
Once the power is off and I’ve confirmed it, I set up my ladder underneath the light fixture. I remove any glass globes, bulbs, or decorative parts from the existing fixture to reduce weight and avoid breakage. Using a screwdriver, I take out the mounting screws holding the fixture to the electrical box.
As I lower the fixture away from the ceiling, I’m careful to support its weight while exposing the wiring. Typically, I’ll see three wires: black (hot), white (neutral), and a green or bare copper ground wire. I use my voltage tester one more time, just to be extra cautious.
I then unscrew the wire nuts, untwist the wires, and detach the old fixture completely. I set it aside and inspect the electrical box to make sure it’s secure. The box must be mounted tightly to a joist or bracket—especially if the new fixture is heavy.
Inspect the Wires and Make Repairs if Needed
This is a good moment to inspect the condition of the wires. If the insulation looks cracked, brittle, or burned, I stop the project and replace the wires or call an electrician. For most replacements, though, the wires are in good shape and just need to be straightened and stripped for a clean connection.
If they’re a bit long or frayed, I trim the ends and use a wire stripper to remove about ½ inch of insulation. Clean, straight copper wire makes for a solid, safe connection. Paying attention to these details is a big part of how to replace a light fixture safely.
Install the Mounting Bracket
Most new light fixtures come with a mounting bracket that attaches to the electrical box. I match the bracket’s screw holes with those on the box, then secure it tightly using the provided screws. The bracket supports the entire weight of the fixture, so I make sure it’s rock solid before continuing.
Some heavier fixtures require additional support, like a fan-rated brace. I always read the fixture’s instructions to confirm it’s compatible with my setup. If anything feels shaky or misaligned, I stop and fix it before moving on.
Connect the Wires Properly
This step is the heart of how to replace a light fixture safely. I match up the wires by color—black to black, white to white, and green or bare to ground. With each pair of wires, I twist them together clockwise, cap them tightly with a wire nut, and wrap them in a little electrical tape for extra security.
If the fixture has stranded wires (which are made up of many tiny threads), I twist them neatly before pairing them with the solid copper wires from the ceiling. It’s essential that the connections are firm and fully enclosed in the wire nut.
The ground wire is just as important as the others. I connect it to the green screw on the mounting bracket or to the bare copper wire from the ceiling. If the box is metal, I also ground it for added safety.
Secure the Fixture to the Ceiling
Once all the wires are connected, I gently tuck them into the electrical box, making sure nothing gets pinched. I lift the new fixture into place and line it up with the mounting screws on the bracket. Depending on the style, I may have to hold the fixture in one hand while I tighten the screws with the other.
I take my time here. A crooked or loose fixture won’t just look bad—it could also become unsafe over time. When the fixture is firmly in place, I install any shades, globes, or other decorative parts, and screw in the bulbs.
Restore Power and Test
With the fixture fully installed, I go back to the breaker panel and restore power to the circuit. Then I return to the room and flip the light switch. If everything was wired correctly, the light turns on without a hitch.
I also test the fixture for any wobble or strange behavior, like flickering or buzzing. If anything seems off, I turn the power back off and double-check the wiring. A good connection should be silent and steady.
If the light turns on properly and the fixture is secure, I can officially say I’ve completed the project successfully—and safely.
Bonus Tips for Special Situations
Swapping to LED Fixtures
Many newer fixtures use LED modules instead of traditional bulbs. These often come pre-wired or have different mounting requirements. I always read the manual carefully and avoid assuming that all installations are the same. LEDs also use less power, which is great for energy efficiency.
Working on High Ceilings
When working on high ceilings or stairwells, I always use a stable ladder rated for the height. Sometimes I use a scaffold or get a second person to help stabilize the ladder and hold the fixture. Working at height adds risk, so extra caution is part of how to replace a light fixture safely in these situations.
Installing in Damp Locations
If I’m replacing a light in a bathroom or outdoor space, I make sure the new fixture is rated for damp or wet locations. I also double-check that any exposed wires are sealed and protected from moisture. Special gaskets or waterproof junction boxes may be required.
Maintaining Fixture Safety Over Time
Once the new fixture is in place, I keep an eye on it over time. Loose connections, flickering bulbs, or odd noises are signs that something’s off. I also dust and clean the fixture periodically to prevent overheating or damage.
If a fixture starts acting up months after installation, I don’t ignore it. I switch off the power and take a look at the wiring and connections. Preventative maintenance is a huge part of electrical safety.
Final Thoughts
Learning how to replace a light fixture safely has given me the confidence to update the lighting in my home without hiring a professional. It’s not just about making things look better—it’s about doing it right, without cutting corners.
Each step matters, from shutting off the power and testing the wires, to making solid connections and securing the fixture. If you treat each phase with care, you’ll end up with a result that’s not only beautiful, but also safe and long-lasting.
So the next time you look at an outdated ceiling light or a dark hallway in need of brightness, don’t hesitate. With a few tools, some patience, and a focus on safety, you can take it on. Knowing how to replace a light fixture safely is a game-changer for any DIYer—and it’s easier than you think when you do it the right way.