Install Laminate Flooring Like a Pro
Laminate flooring is one of the most cost-effective and DIY-friendly ways to transform the look of any room. With the right tools, a solid plan, and a bit of patience, you can install laminate flooring like a pro—even if it’s your first major flooring project. I’ve tackled several rooms over the years, and each time I walk away impressed by how polished the final result looks. Better yet, the learning curve is manageable, and the rewards are instant.
Whether you’re updating a living room, bedroom, or even a hallway, laminate gives the beauty of hardwood without the hefty price tag or maintenance hassle. With a floating floor design and click-lock system, many brands have made it easier than ever to install laminate flooring like a pro, even on your own.
Let me walk you through everything I’ve learned about the process—from choosing materials to laying planks and trimming the final row.
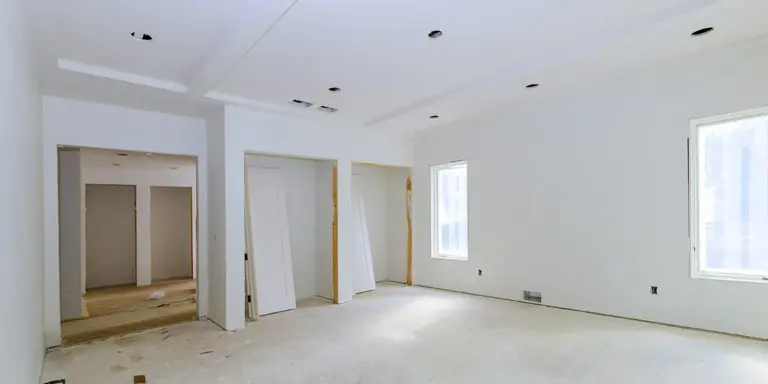
Prep the Room for a Clean Start
Every good flooring project starts with a clean slate. Before I begin any installation, I clear the room completely. Furniture, rugs, and baseboards all need to go. I remove any existing flooring if necessary, especially carpet or broken tiles, and check for nails, staples, or debris.
The subfloor plays a big role here. I always make sure it’s level, dry, and structurally sound. Uneven subfloors can cause laminate to shift or squeak. A long level or straight board helps me find high spots or dips. Minor imperfections can be smoothed with leveling compound or sanded down.
If the subfloor is concrete or prone to moisture, I lay down a vapor barrier or underlayment before installing. This helps protect the laminate from future swelling or warping. The cleaner and flatter the base, the smoother the project will go.
Choose the Right Laminate and Underlayment
Picking laminate is more than choosing a wood pattern. I look for flooring that’s durable (AC3 rating or higher), water-resistant, and has a good locking system. Some planks come with pre-attached underlayment, which saves a step. Others require a separate foam or felt layer to help reduce noise and cushion the floor.
Color and grain are personal, but I usually opt for neutral wood tones that hide dust and fit with almost any decor. Wide planks make a space feel modern and open, while narrow ones add detail and classic charm.
Choosing quality material at the start means fewer issues during installation and better long-term results. If you want to install laminate flooring like a pro, your materials need to reflect that mindset.
Acclimate the Flooring
One step I never skip is acclimation. I let the laminate planks sit in the room for 48 to 72 hours before installing. This allows them to adjust to the temperature and humidity of the space. If I skip this step, the boards might expand or contract after installation, leading to gaps or buckling.
I stack the unopened boxes flat and spread them across the room. This simple preparation prevents a host of future headaches and is a key part of professional-quality results.
Measure Twice, Plan Once
Before I cut a single board, I spend time planning the layout. I measure the length and width of the room and calculate how many rows of planks I’ll need. I also figure out the width of the last row in advance—if it’s going to be under 2 inches, I adjust the first row so I can balance both ends.
I use spacers to leave a ¼ inch expansion gap around all walls and obstacles. This lets the floor breathe without buckling. If I’m installing in multiple rooms or a large space, I plan where to place transitions, thresholds, and baseboard trim.
Laying out the plan first helps everything line up cleanly. It also gives me a clear visual guide so the project doesn’t stall halfway through.
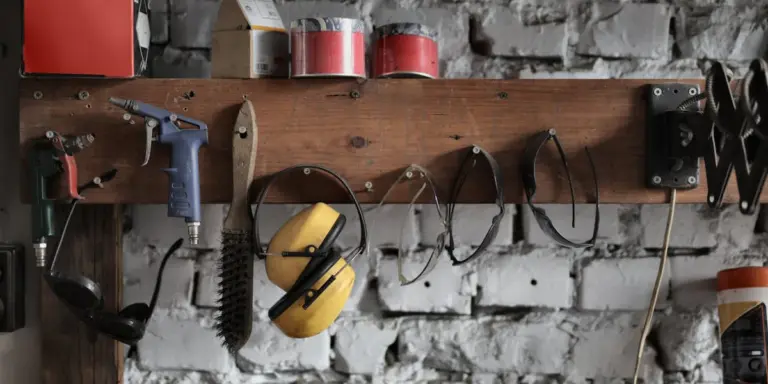
Start with the Right Tools
To install laminate flooring like a pro, I gather a few essential tools ahead of time:
- Tape measure
- Pencil and chalk line
- Spacers
- Utility knife
- Jigsaw or circular saw
- Rubber mallet
- Tapping block
- Pull bar
- Level
- Speed square
- Vacuum or broom
I also keep a scrap board handy to protect the locking edges during tapping. These tools keep things efficient and help me handle tricky cuts or corners without damaging the planks.
Begin the First Row with Precision
I always start along the longest straight wall, working left to right with the tongue side facing the wall. This orientation makes the locking system easier to engage. I place spacers between the wall and the plank to ensure that all-important expansion gap.
The first row needs to be laser straight. If the wall is uneven, I scribe and cut the first plank to match the contour. This prevents issues that would ripple through the rest of the installation.
I stagger seams by cutting the first plank in the second row in half. This brick-like pattern strengthens the floor and gives it a natural look. Keeping joints at least 12 inches apart improves stability.
Lock and Tap with Care
Click-lock laminate flooring is designed to snap together tightly. I angle the new plank into the groove of the previous row and lower it until it clicks. A rubber mallet and tapping block help seat the joint without damaging the edge.
For planks near the wall, where there’s no room to tap, I use a pull bar to draw the board snugly into place. I’m careful to protect the edges—damaged joints won’t lock and will cause movement down the line.
Once I find my rhythm, the planks go down quickly. I vacuum as I go to prevent sawdust or debris from interfering with the joints.
To install laminate flooring like a pro, it’s all about clean joints, tight seams, and consistent spacing.
Cut Around Obstacles and Edges
Every room has a few tricky spots—doorways, vents, columns, or irregular walls. I measure each obstacle carefully, mark the plank, and make precision cuts with a jigsaw or circular saw.
For pipes or vents, I drill a hole slightly larger than the object, then make a clean notch to slide the board in. The cutout gets hidden later with trim or pipe covers.
Door jambs are another hurdle. Rather than notching the laminate, I use a flush-cut saw to trim the bottom of the jamb and slide the plank underneath. This gives a clean, professional finish.
These cuts take a little extra time, but they make the floor look seamless and intentional.
Tackle the Final Row
The last row is usually narrower and needs to be ripped to fit. I measure the gap, subtract the expansion space, and cut the planks lengthwise with a circular saw. I double-check these cuts because mistakes here are very noticeable.
I install the final row using a pull bar and spacers to maintain the gap. Once everything is locked in place, I walk the floor gently to test for movement or noise. If I find a hollow spot, I check the seam for gaps or debris and re-tap as needed.
Finishing strong is part of learning how to install laminate flooring like a pro. It’s the difference between a job that looks DIY and one that looks showroom-ready.
Add Trim and Finish Details
After the flooring is in place, I remove all spacers and install quarter-round or baseboard trim to cover the expansion gap. I use a nail gun or hammer and finishing nails, taking care not to anchor the trim into the floor itself.
I also install thresholds at doorways or transitions to tile or carpet. These help protect the edge of the laminate and make the shift between surfaces smooth and safe.
If needed, I seal the perimeter with matching caulk or filler for a polished, custom look.
Clean and Enjoy
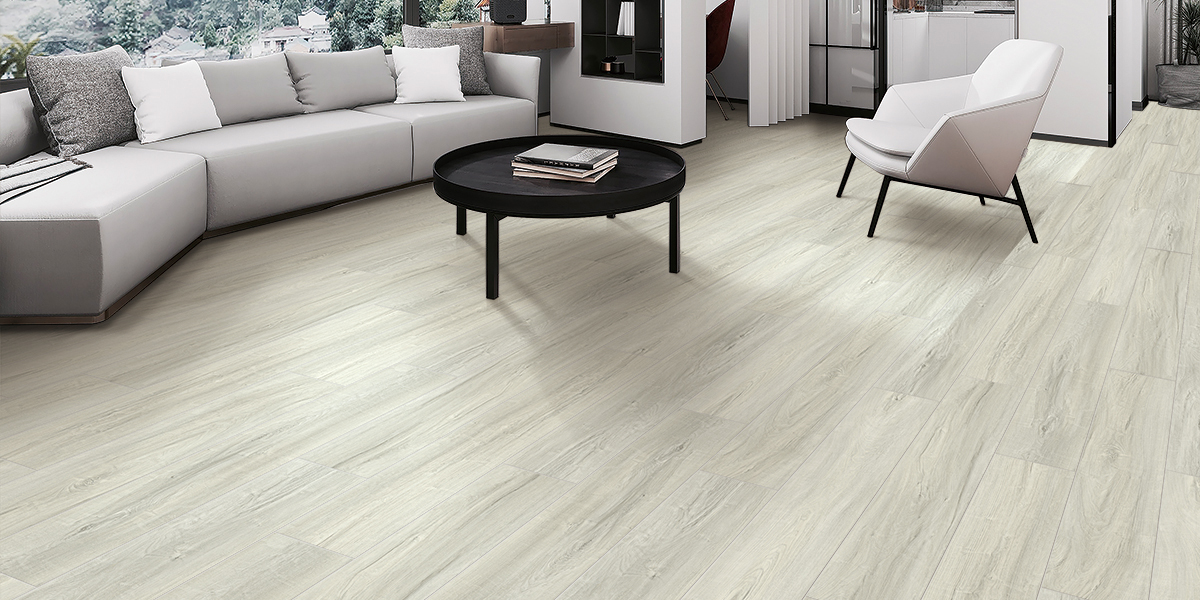
I give the whole room a final vacuum and wipe down the surface with a barely damp cloth. I avoid soaking the floor—moisture is laminate’s worst enemy. Then I move furniture back carefully, using pads or sliders to avoid scratching.
The result always blows me away. Clean lines, warm texture, and a professional finish make the room feel brand new. Every time I walk across it, I get that little jolt of pride knowing I installed it myself.
Maintenance Tips
Once the laminate is down, it’s easy to keep it looking great. I use a microfiber mop for regular cleaning and avoid harsh chemicals. Any spills get wiped up right away. I also keep felt pads on furniture legs and avoid dragging heavy items across the floor.
If a plank ever gets damaged, many brands make it easy to remove and replace a single board. That’s the beauty of floating floors—they’re not glued down, so repairs don’t require demolition.
Final Thoughts
If you’re looking to upgrade your home with a project that adds beauty, value, and satisfaction, installing laminate flooring is a smart move. With the right tools, a few careful steps, and a commitment to detail, anyone can install laminate flooring like a pro.
It’s not just about following instructions—it’s about working with intention, adjusting for quirks in your space, and finishing each row with pride. Whether it’s your first time laying floors or your fifth room redo, the process gets easier and more rewarding with every plank.
So roll up your sleeves, make a plan, and transform your space one board at a time. You’ll be amazed at what you can achieve—and every step you take will prove you really can install laminate flooring like a pro.