Upgrade Your Bathroom with Basic Tools
Improving your bathroom doesn’t have to mean a complete remodel or hiring a contractor. With a little creativity, some planning, and a small selection of simple hand tools, it’s completely possible to make meaningful upgrades that enhance both function and style. I’ve taken on a variety of bathroom projects using only what I had in my toolbox—and the transformation was more satisfying than I could’ve imagined. If you’re looking to upgrade your bathroom with basic tools, you’ll be surprised at how much you can achieve without specialized equipment or heavy machinery.
A bathroom refresh is a smart DIY move because it adds value to your home, improves daily routines, and doesn’t require huge investments of time or money. Many of the projects I’ve tackled over the years can be done over a weekend, and they require only basic tools like a screwdriver, wrench, level, utility knife, drill, and a caulking gun. Let’s explore how you can get started and which upgrades deliver the biggest impact.
Planning Your Bathroom Upgrade
Before I dive into any upgrade project, I always start by identifying what’s not working. Is it poor lighting? Cluttered counters? Worn-out hardware? Dated tile? Once I know what I want to change, I make a quick list of priorities. I then break each upgrade down into smaller projects that can be done using the basic tools I already own.
Planning helps me avoid biting off more than I can chew. I also take a quick inventory of materials I might need: new fixtures, adhesive hooks, fresh caulk, cabinet handles, or even peel-and-stick tiles. Then I draw up a weekend project timeline and get to work.
If you’re ready to upgrade your bathroom with basic tools, it all starts with intention and a bit of prep.
Replace Old Hardware
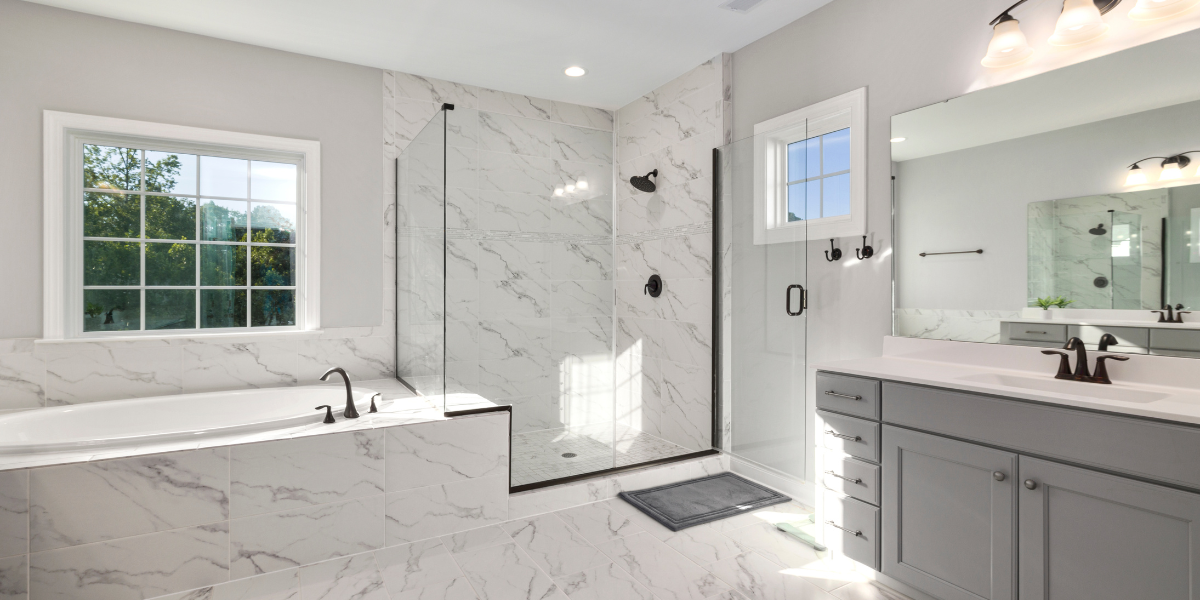
One of the easiest upgrades I’ve done is swapping out outdated hardware. Faucets, showerheads, cabinet pulls, towel bars, and toilet paper holders make a surprisingly big impact when they’re updated with modern finishes like brushed nickel, matte black, or oil-rubbed bronze.
All I needed was a screwdriver, a wrench, and a little patience. Most of these swaps took me less than an hour each, but together they made the entire bathroom feel refreshed.
Make sure to measure existing hole spacing before buying new hardware, especially for cabinet handles. The new pieces will look sharp, feel sturdier, and give everything a clean, unified aesthetic.
Install a New Showerhead
If your shower feels underwhelming, replacing the showerhead is an upgrade that can be done in 10 minutes flat. I used an adjustable wrench to remove the old head, wrapped the shower arm threads in plumber’s tape, and screwed on a rainfall-style head with multiple spray settings.
The difference was immediate—better pressure, more coverage, and a touch of spa luxury. With just a wrench and a few dollars, this upgrade pays off every day.
To upgrade your bathroom with basic tools, this is a perfect example of maximum return for minimum effort.
Add Floating Shelves or Storage Hooks
Bathroom counters are notorious for clutter. To solve this, I installed floating shelves and adhesive hooks on unused wall space. These gave me places to store towels, jars, baskets, and even a small plant for a pop of green.
I mounted shelves using a level, drill, and wall anchors. Hooks were even easier—they adhered right to tile or drywall with peel-and-stick backing or small screws. These quick additions improved the space visually and functionally.
Now, I always know where my robe, hand towels, and toiletries are—no digging through drawers or stacking things around the sink.
Update the Mirror
Replacing or framing a mirror is one of those tasks I used to think required a professional, but it turns out to be a straightforward DIY. For a full mirror replacement, I loosened the clips with a screwdriver and carefully lifted it off. I then installed a stylish framed mirror that added character and depth to the bathroom.
Another great trick is framing an existing builder-grade mirror. I used lightweight molding and a strong adhesive to attach the frame directly to the glass. A miter box and handsaw let me cut the angles, and a bit of caulk smoothed out the edges.
To upgrade your bathroom with basic tools, don’t underestimate how much visual weight the mirror carries. It can either date the room or modernize it instantly.
Revive Caulk and Grout Lines
Old caulk turns yellow or begins to peel, and grimy grout makes even clean tile look dingy. Fixing both takes little more than a utility knife, a caulking gun, and a grout brush.
I removed the old caulk by scoring it with the knife and pulling it away. After cleaning the surface with rubbing alcohol, I applied fresh waterproof caulk along the seams. A damp finger smoothed the bead and sealed it perfectly.
For grout, I scrubbed with a grout brush and baking soda paste, then refreshed the lines with grout pen for a crisp finish. This simple touch gave the tile a freshly-installed look.
These upgrades don’t require any power tools but offer a professional finish when done right.
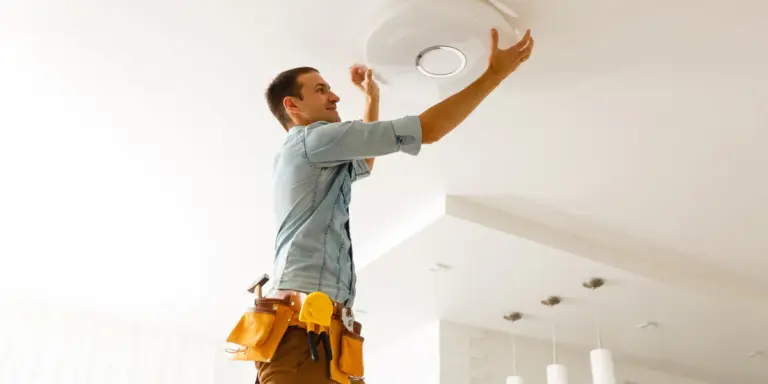
Swap Out the Light Fixture
Nothing dates a bathroom faster than a faded brass light fixture. Updating the lighting transformed my space from dull to inviting. After turning off the power at the breaker, I used a screwdriver to detach the old fixture and connect a sleek, modern vanity light.
The trickiest part was managing the wiring, but following the color-coded wires and securing them with wire nuts was manageable. With a drill and level, I aligned the new fixture and tightened it into place.
This project added a huge improvement in ambiance and function. Better lighting made the room feel larger and more pleasant for everything from shaving to skincare.
To upgrade your bathroom with basic tools, don’t overlook the ceiling or wall lighting—it’s a powerful design element.
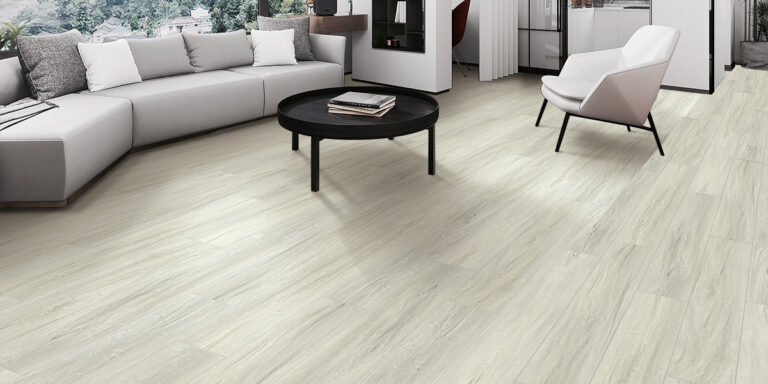
Apply Peel-and-Stick Tile or Wallpaper
Sometimes the floor or walls just need a style boost. I experimented with peel-and-stick vinyl tiles on the floor and behind the sink as a backsplash. These adhesive-backed tiles are surprisingly durable and come in patterns that mimic ceramic, marble, or wood.
With just a utility knife and straightedge, I trimmed each tile to fit around edges and corners. It was a little time-consuming but entirely doable. The adhesive was strong, but I also rolled over everything with a rubber roller to eliminate bubbles.
I also tested peel-and-stick wallpaper to create an accent wall behind the toilet. It added texture and depth without the commitment or mess of traditional wallpaper.
These are ideal choices for renters or anyone hesitant to commit to permanent changes. They upgrade your bathroom with basic tools and give a designer look with none of the drywall damage.
Install a New Toilet Seat or Lid
Swapping out a toilet seat might sound basic, but a slow-close or cushioned seat is a small luxury you’ll appreciate every day. Using just a screwdriver and adjustable wrench, I removed the old seat and installed a soft-close version in under 15 minutes.
There’s no plumbing involved, no mess, and the reward is real comfort and a cleaner, newer look. It’s a good idea to replace older toilet seats every few years anyway, and this is a quick way to add function and cleanliness to your bathroom setup.
Refresh Paint and Trim
Paint is the ultimate transformer. If your walls or trim are scuffed, outdated, or bland, a new coat of paint can breathe life into the space. I used painter’s tape, a small roller, angled brush, and drop cloths to repaint the bathroom in a calming blue-gray tone.
I also painted the baseboards and window trim in a clean semi-gloss white. This framed everything beautifully and made the room feel polished and intentional. The paint job only took a few hours but made the room look completely refreshed.
No fancy spray guns or ladders required—just a roller, brush, and some patience. If you want to upgrade your bathroom with basic tools, fresh paint should be at the top of your list.
Organize the Vanity and Under-Sink Area
Finally, I tackled the chaos under the sink. I added stackable plastic drawers, slide-out bins, and a small lazy Susan to make use of awkward spaces. I installed a tension rod across the cabinet and used it to hang spray bottles and cleaning cloths.
A few adhesive hooks inside the cabinet doors now hold hairdryers, brushes, and cords. These simple storage tricks help me keep the bathroom tidy and eliminate the daily scramble to find essentials.
These organization upgrades take just minutes but make a huge difference in usability.
Final Thoughts
You don’t need to be a contractor to transform your bathroom. With a few hours, some basic tools, and a little creativity, you can take your space from average to awesome. Every upgrade I’ve listed here requires only hand tools, simple materials, and a bit of planning—and yet each one delivers a big impact.
Whether you want better storage, more modern fixtures, cleaner lines, or just a more pleasant place to start and end your day, you can absolutely upgrade your bathroom with basic tools. Each project builds your confidence and improves your home, one weekend at a time.
Take a look around your bathroom today and pick just one project. Once you get started, you’ll be surprised how far a screwdriver, utility knife, and paintbrush can take you.