
Build a Backyard Fire Pit in 5 Steps
There’s something deeply satisfying about ending a long day gathered around a crackling fire. Whether it’s to roast marshmallows, warm up on a cool evening, or add ambiance to a backyard gathering, a fire pit brings people together. One of the best DIY projects I’ve tackled to enhance my outdoor space was building my own fire pit. The process was much easier than I expected—and a lot more rewarding. If you’ve ever dreamed of creating that cozy campfire vibe right at home, it’s totally doable. Let me walk you through how to build a backyard fire pit in 5 steps.
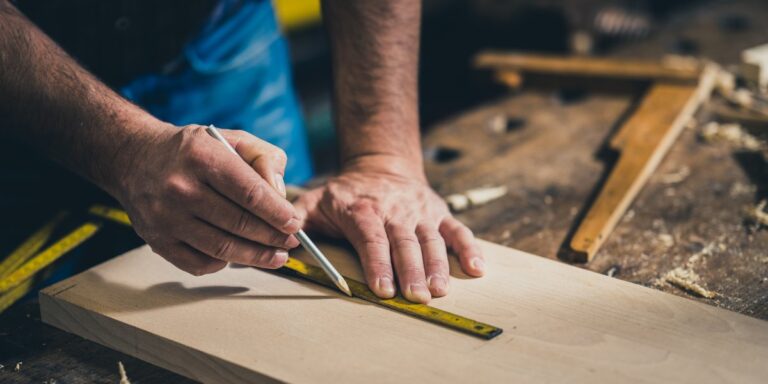
You don’t need a degree in masonry or a full workshop to pull this off. With a bit of effort, a few tools, and some careful planning, you’ll have a permanent backyard upgrade that you’ll use again and again. It’s a project that’s both practical and personal, and the result is something that adds real value to your home.
Step 1: Choose the Right Spot
The first and most critical decision is choosing where to put the fire pit. I started by walking around my yard and picturing how people would gather, where the wind usually blows, and how far the fire would be from the house and other structures. Safety came first. You want to make sure your fire pit is at least 10 feet away from buildings, fences, trees, or anything flammable. I also looked up local regulations and fire codes—some areas have restrictions on open flames or specific rules about backyard fire pits.
I found a flat, open patch of ground that wasn’t too close to anything and had good airflow. That gave me a safe foundation and made it easier to build. I also considered the view. A fire pit can become a visual centerpiece in your yard, so I placed mine where it could be enjoyed from the patio but not block any walking paths.
Choosing the right spot sets the tone for the entire project. If you want to build a backyard fire pit in 5 steps, a smart location is the foundation that keeps everything else on track.
Step 2: Design and Gather Materials
Next, I decided on the size and shape of the fire pit. I went with a classic circular design about 36 inches in diameter. That’s big enough for a good fire, but not so large that it feels overwhelming. Square and rectangular pits are also popular and work well in modern spaces. Whatever shape you choose, sketch it out and plan how you want the finished product to look.
Once I had my dimensions, I made a list of materials:
Materials:
- Fire pit bricks or pavers (about 25–35, depending on size)
- Gravel (2-3 bags)
- Sand (1-2 bags)
- Concrete adhesive or landscape adhesive
- Fire ring (optional, but helps protect the bricks)
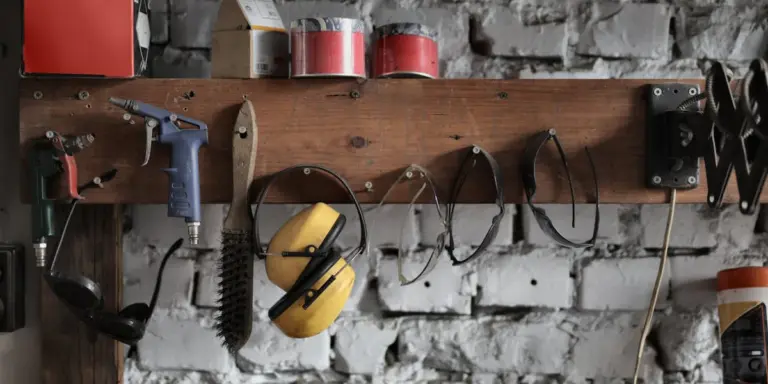
- Shovel
- Level
- Tamper or hand compactor
- Tape measure
- Garden hose or spray paint for marking
Bricks and pavers come in different colors and styles, so I picked a style that matched the rest of my yard’s look. A fire ring isn’t required, but it extends the life of the fire pit by protecting the bricks from intense heat.
When you build a backyard fire pit in 5 steps, having your materials prepped and ready before you dig keeps the momentum going and avoids repeat trips to the store.
Step 3: Mark and Excavate the Area
With everything ready, I marked out the space. I used a garden hose to lay out a perfect circle, but spray paint works just as well. Once I had the shape I wanted, I dug down about 6 to 8 inches. This gave me room for a sturdy base and ensured the pit would be flush with the ground.
Digging took some elbow grease, especially when I hit roots and packed soil. A flat-bottomed shovel worked best. I also removed grass and roots to make sure they wouldn’t interfere later.
Once the hole was dug, I poured in 3–4 inches of gravel and tamped it down until it was level and firm. Then I added a 1-inch layer of sand on top, which helps level the bricks and keeps them from shifting. I used a level to check all around the circle. This part might seem tedious, but getting the base right means the fire pit will stay solid and safe for years.
Building the foundation is key when you build a backyard fire pit in 5 steps. It’s where structure, safety, and aesthetics all begin.
Step 4: Lay the Bricks
With the base set, I started placing the bricks in a circle, one by one. I dry-fit the first layer without adhesive to make sure the shape was perfect and the bricks sat evenly. Adjusting at this stage was easy—I just shifted the bricks and used a rubber mallet to tap them into place.
Once the first layer looked right, I began stacking the next layer. I offset the joints, like laying bricks in a wall, which adds strength and gives the pit a polished look. As I placed each brick, I added a small bead of concrete adhesive between them for stability.
Some bricks are shaped to curve naturally into a circle. If yours are straight, you may need to leave small gaps or trim corners for a better fit. I kept checking for level after each layer. A crooked pit doesn’t just look off—it can become a hazard if it tilts or collapses under heat.
After the third layer, I had a sturdy, symmetrical pit that looked great. I decided to install a metal fire ring in the center, which fit snugly inside the bricks and offered extra protection against heat damage.
There’s a real sense of satisfaction in seeing the shape come together. When you build a backyard fire pit in 5 steps, this is the stage where the project starts to look like what you imagined.
Step 5: Finishing Touches and First Fire
To finish things off, I filled the bottom of the fire pit with a few inches of gravel. This helps with drainage and keeps the firewood elevated, improving airflow. I also walked around the pit, pressing down the outer edge of the base to make sure everything was stable.
I used a broom to clear away dirt, and gave the whole structure a light rinse with the garden hose to remove dust from the bricks. After letting it dry, I stood back and admired the finished work. The fire pit felt like a permanent, purposeful part of the backyard.
For the first fire, I used dry hardwood and kindling, arranging it in a simple teepee shape. Lighting it up was exciting, and watching the flames catch and crackle was the perfect reward for a day of work. I made sure to keep a bucket of water nearby, just in case.
Building a backyard fire pit in 5 steps isn’t just about getting a job done—it’s about creating a space that brings people together. Whether it’s a summer BBQ or a chilly winter evening, having your own fire pit turns any night into something memorable.
Maintenance and Safety Tips
Once the fire pit is in place, it’s worth taking care of it so it lasts. Here are a few habits I’ve adopted:
- Use dry, seasoned wood – It burns cleaner and produces less smoke.
- Avoid burning trash or treated wood – These release harmful chemicals.
- Clean out ash regularly – I wait for everything to cool, then scoop the ash into a metal bin.
- Check bricks periodically – Heat can cause cracking over time, so I replace damaged bricks as needed.
- Cover the pit in wet weather – This keeps moisture out and prevents mold or erosion.
It’s also important to always supervise the fire and never leave it unattended. I make a habit of fully extinguishing fires before calling it a night. A quick douse with water and stirring the ashes does the trick.
Customization Ideas
One of the best parts of this project is that you can make it your own. Once you build a backyard fire pit in 5 steps, you can go back and customize it however you want:
- Add a stone seating wall around it
- Create a gravel or flagstone patio leading to the pit
- Install solar lights or string lights nearby
- Set up log storage nearby
- Add a grill grate for open-fire cooking
Every backyard has its own personality, and your fire pit can reflect that.
Final Thoughts
Learning how to build a backyard fire pit in 5 steps gave me more than just a place to burn wood. It gave me a project to be proud of and a gathering place for friends and family. It was simple, affordable, and totally worth the time and effort. With just a few materials and basic tools, I transformed a blank patch of yard into one of the most inviting features on my property.
If you’ve been thinking about adding a fire pit to your space, don’t wait. Pick a weekend, gather your supplies, and get started. The process is straightforward, and the result is something you’ll enjoy for years. Once it’s built, you’ll wonder how you ever spent evenings without it.
So roll up your sleeves and go for it—build a backyard fire pit in 5 steps and bring the heart of the outdoors to your own backyard.