How to Child-Proof Your Workshop
Working on DIY projects at home is incredibly rewarding, but it brings with it certain responsibilities—especially when children are around. My workshop is a place of focus, creativity, and productivity, but I also know that to a child, it can look like a treasure trove of exciting and mysterious things. The issue is that many of those interesting items are also dangerous. That’s why I had to learn how to child-proof your workshop and implement a full safety system that protects little ones without slowing down my work.
Whether you’re a parent, grandparent, or someone who occasionally has young visitors, keeping a workshop child-safe is a crucial step that can’t be overlooked. Power tools, chemicals, sharp objects, and cluttered walkways all pose risks to curious kids. If they can enter the space, they can get hurt—plain and simple. This article will walk through the detailed process I used to create a safe and secure environment, offering real, actionable advice on how to child-proof your workshop effectively.
Assessing the Risks
Before making any changes, I took a step back and looked at my workspace with fresh eyes. I imagined myself being three feet tall with little understanding of danger. That perspective helped me identify what needed to be secured, locked up, or moved out of reach. Saws, drills, solvents, hammers, screwdrivers, clamps—every item was considered. Simply having tools out in the open was a problem, even if they were unplugged or inactive.
I walked through the entire space and made a checklist of potential hazards. Cords that lay across the floor, open shelves with sharp tools, buckets of nails, and exposed outlets were all noted. If you’re serious about learning how to child-proof your workshop, the first step is an honest and thorough evaluation of the space.
Secure Entry Points
The easiest way to child-proof any dangerous area is to prevent access entirely. I installed a lock on the door to my workshop and added a child-proof handle guard for good measure. If you don’t have a door that can be secured, installing a sturdy gate or partition is the next best solution.
If your workspace is in a garage or basement without defined boundaries, physical separation becomes even more important. Blocking off access with a freestanding fence or temporary wall ensures that unsupervised kids can’t wander in. It’s one of the most basic steps in how to child-proof your workshop, but it’s also one of the most effective.
Use Lockable Storage for Tools
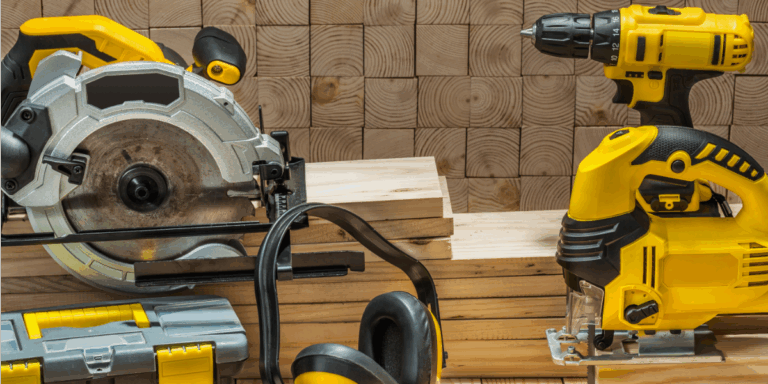
Every power tool in my workshop is stored in a lockable cabinet or chest. Drills, saws, sanders—anything that plugs in or has a battery—is kept out of reach and inaccessible without a key. This doesn’t just protect kids; it also keeps tools safe from damage or misuse.
For smaller hand tools, I use drawers with childproof latches or storage bins with lockable lids. Pegboards with exposed tools might look great and be convenient, but they’re not the safest option when kids are around. The more tools I can put behind a locked barrier, the less I have to worry about accidents.
Unplug and Remove Batteries
Even tools that are out of sight need to be made completely inoperable. I make it a habit to unplug corded tools immediately after use. For battery-operated tools, I remove the batteries and store them separately. It takes only a few seconds, but it adds a strong layer of protection.
Kids are incredibly good at figuring out how things work, especially if it involves pressing buttons. Taking the power source out of the equation is essential in how to child-proof your workshop and eliminate potential dangers.
Use Wall-Mounted Cabinets
To get items completely out of reach, I installed a few high wall-mounted cabinets. This is where I store chemicals, solvents, paints, adhesives, and sharp objects I don’t use regularly. The higher these items are stored, the less likely a child can access them—even if they manage to get past other safety barriers.
Wall cabinets with locks are even better. I use keyed locks for anything toxic or extremely sharp, and I keep the keys in a spot only I know. It’s not just about child-proofing; it’s about controlling who has access to hazardous materials at all times.
Install Outlet Covers and Cord Organizers
Exposed outlets are magnets for small fingers. I use outlet covers across the entire workshop—even in places where I don’t plug things in often. It’s a cheap and simple solution that helps avoid a big danger. For outlets I use frequently, I’ve replaced the covers with tamper-resistant versions that only allow a plug to go in if both prongs are inserted simultaneously.
Cord management is also critical. I use retractable reels or cord organizers to keep power cords off the ground and out of reach. Long cords not only present a tripping hazard but also offer kids something to pull on. Organizing them helps keep the space tidy and adds another layer of safety.
Keep Floors Clear
Tripping hazards and loose debris are risky for everyone—but especially dangerous when kids are involved. I make it a rule to sweep and tidy up after every project. Loose screws, nails, wood chips, or stray tools are cleaned up right away.
I’ve also removed rugs that slide around or create uneven footing. Non-slip mats stay in place and are safer for everyone. When learning how to child-proof your workshop, don’t underestimate how much of a difference a clean floor can make in preventing accidents.
Secure Workbenches and Heavy Equipment
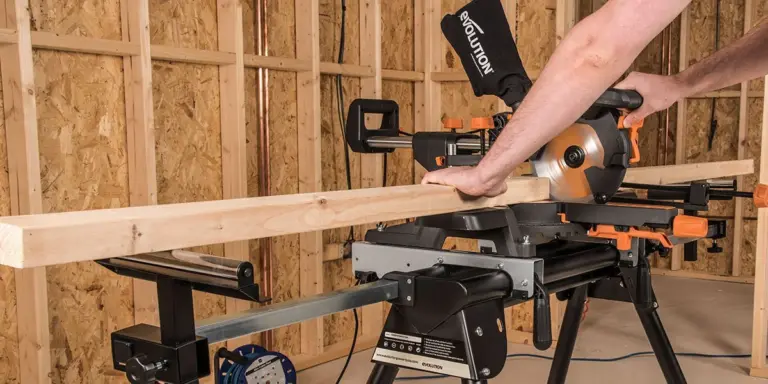
Some of the larger items in my shop—like the workbench, bandsaw, or miter saw station—can pose serious risks if they tip over or have sharp edges. I anchored anything top-heavy to the wall and made sure everything else has rubberized feet for stability.
I also made a habit of locking down movable parts or removing cutting blades and bits when they’re not in use. It might take a little extra time to reset things, but the peace of mind is worth it.
Safety Shields and Guards
If your workshop includes stationary tools, make sure they’re equipped with safety guards. I use blade covers, dust hoods, and adjustable shields on tools like the table saw and drill press. These guards don’t just protect me—they also reduce risk if a child happens to get too close.
Even when tools are turned off, blades and moving parts can cause injury. Safety shields prevent small hands from getting into places they shouldn’t, and they serve as a visual reminder that the tool is dangerous.
Lock Up Hazardous Materials
Paint thinner, wood stain, gasoline, and glue might seem like ordinary workshop items, but they can be toxic or flammable. I keep all these materials in a fireproof, locking cabinet that’s labeled and stored well out of reach.
I also read labels and make sure to dispose of old or leaking containers right away. One spilled solvent could do real damage, especially in the hands of a child. When learning how to child-proof your workshop, chemicals should be one of the first things you secure.
Educate and Set Boundaries
Tools and rules don’t work on their own. I also make a point to talk to my kids about what’s safe and what’s off-limits. I don’t just say “Don’t touch”—I explain why. I’ve found that kids respond well when they understand the reasons behind the rules.
I created a visual chart with pictures of “safe” and “unsafe” zones, and I walk them through it before every visit to the workshop. Teaching them the basics of workshop safety now sets the stage for responsible habits down the road.
Create a Kid-Friendly Corner
Sometimes kids want to be near you while you work, so instead of pushing them away, I created a small kid-safe area just outside the main workspace. It includes some wooden blocks, toy tools, and coloring books. This gives them a sense of involvement without exposing them to real risks.
By setting up a place where they can “work” safely, I’ve been able to keep them entertained and close by, while still keeping the dangerous tools and materials out of reach. It’s a creative solution that supports safety and bonding.
Install a Camera or Baby Monitor
If I know kids are in the house while I’m working, I use a baby monitor or security camera to keep an eye on them when they’re nearby. It’s another way to make sure no one sneaks into the workspace unnoticed.
If your workshop is out of sight, like a detached garage, it’s smart to install a door sensor or motion alarm as an alert if a child tries to enter. These small devices provide an extra level of security and make it easier to act before something goes wrong.
Final Thoughts
Creating a safe workshop isn’t just about your tools and efficiency—it’s about the people in your life who might wander in uninvited. Children are curious, quick, and surprisingly resourceful. If they can get into your workspace, they can get hurt. That’s why it’s so important to take the time to learn how to child-proof your workshop and put a real system in place.
With locked cabinets, proper storage, physical barriers, and education, I’ve turned my once-open workshop into a space that’s both productive and protected. Safety isn’t a single action—it’s a habit, a series of decisions made every day. By taking these steps seriously, I’ve managed to keep my kids safe and still enjoy the full range of what my tools and materials can do.
If you’re setting up a new workshop or improving an existing one, start with this mindset: every risk can be reduced. Every dangerous item can be locked up, moved out of reach, or made safer with just a few changes. The peace of mind that comes from knowing your kids are protected is worth every bit of effort. Learning how to child-proof your workshop is one of the smartest moves any DIYer can make.