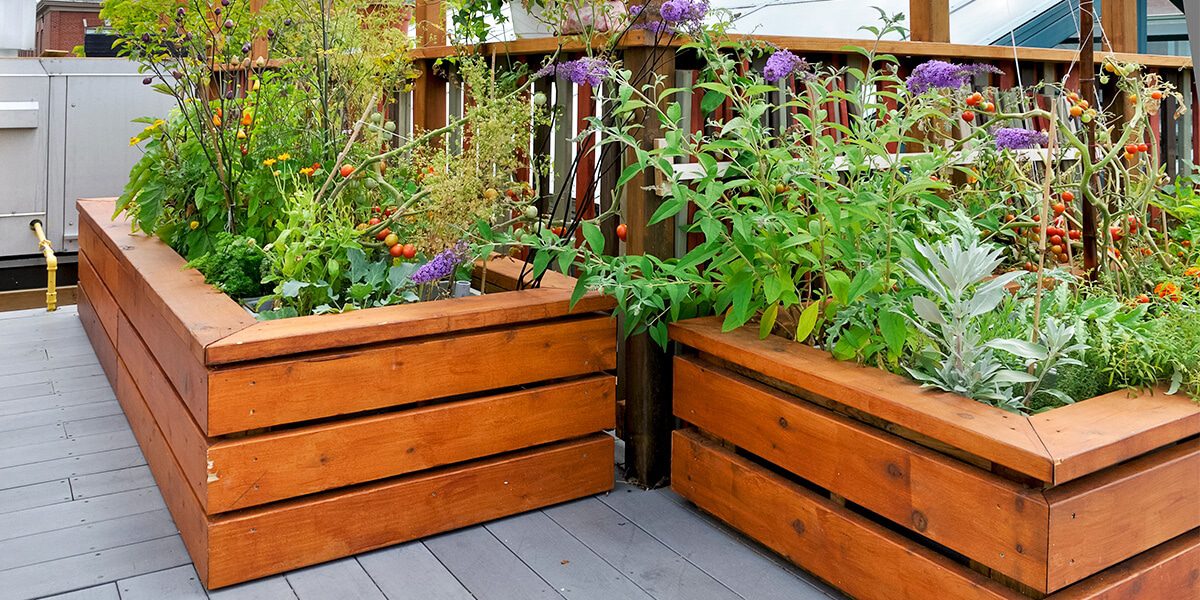
Must-Have Tools for Building a Raised Garden Bed
Building a raised garden bed was one of the most satisfying projects I’ve done in the yard. It gave me a clean, organized space to grow vegetables and flowers while keeping weeds, pests, and poor soil at bay. But the real secret to making the process smooth and efficient was having the right tools from the start. I’ve learned that success doesn’t just come from the lumber and soil—it’s the gear you use that makes or breaks the project.
Planning out your raised bed is exciting, but jumping in without preparation can lead to frustration. Boards that don’t line up, screws that won’t drive in straight, and awkward digging situations all come from using the wrong tools or skipping the essentials. After building a few garden beds and helping friends do the same, I’ve figured out which items truly belong on the must-have list.
So if you’re gearing up to start your own raised garden project, here’s a comprehensive breakdown of the must-have tools for building a raised garden bed. These are the tools I reach for every time—and they’ve saved me time, money, and effort with each build.
Measuring and Planning Tools
Every good build starts with a plan. I always begin by measuring out the space where I want the garden bed to go. That means having a solid measuring tape, chalk line, and level on hand. Skipping this step usually leads to uneven frames and wobbly beds that shift with time.
A 25-foot tape measure is my go-to. It gives me the length I need to map out space in the yard and check board lengths. For laying out right angles, I use a speed square or framing square—it helps make accurate cuts later. A simple string line or chalk line helps mark straight edges on the ground.
I also use a bubble level to make sure the bed sits flat, especially if the yard has a slope. Raised beds that sit crooked can cause uneven water distribution and strain on the frame. Accurate planning is one of the most overlooked parts of the project, but it’s where every smart build begins. These are absolutely must-have tools for building a raised garden bed that won’t give you headaches later.
Saw for Cutting Boards to Size
Unless you’re buying a pre-cut kit, you’ll be trimming boards to the right size. For that, a reliable saw is essential. I usually go with a circular saw because it’s fast and gives clean, straight cuts, especially with thicker boards like 2x6s or 2x8s.
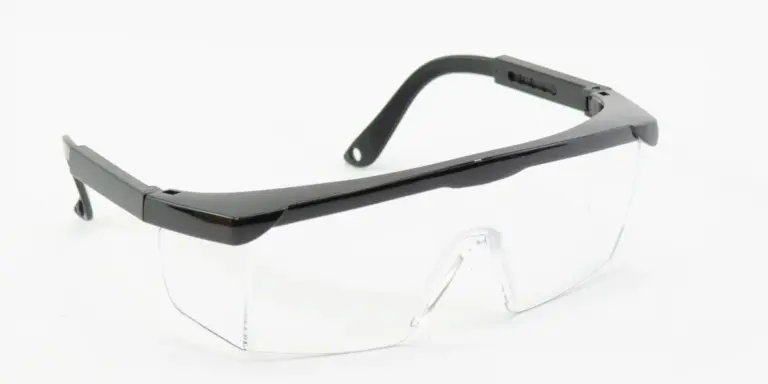
If I’m working with smaller wood or want more precision, a miter saw helps a lot. It also lets me quickly make multiple cuts of the same size, which is perfect for creating uniform sides for the bed. I always clamp the board before cutting and wear safety glasses for protection.
Don’t overlook blade quality either—a sharp wood-cutting blade makes a huge difference in how easy the cut is and how smooth the finish looks. You can technically build a raised bed with a handsaw, but I’d only do that for small beds or if no power tools are available.
Power Drill or Impact Driver
When it comes to fastening boards together, I wouldn’t attempt the job without a power drill or impact driver. Trying to manually screw into pressure-treated wood is not only frustrating—it’s time-consuming and can strip screws or split wood.
I use an 18V cordless drill with a good battery and multiple torque settings. It lets me pre-drill holes to prevent splitting, then drive in screws securely. If I’m working with thicker lumber or longer screws, I’ll switch to an impact driver, which makes the job easier and quicker.
A good drill also helps attach corner brackets or anchor spikes if you’re using reinforcement hardware. Among all the must-have tools for building a raised garden bed, this is the one I use the most throughout the project.
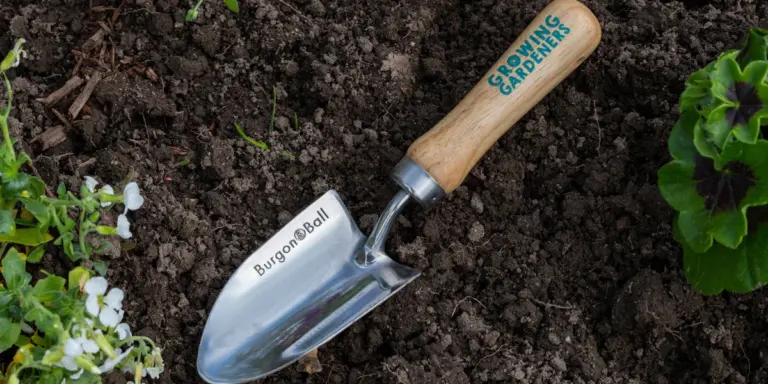
Shovel and Garden Fork for Soil Prep
Once the frame is built, I need to prepare the ground underneath. A flat shovel helps level the area and remove any sod or debris. I’ll also use it to edge around the base to keep weeds from creeping in.
To loosen compacted soil or mix in compost beneath the bed, I grab a garden fork. It breaks up tough soil and helps improve drainage. Some gardeners skip prepping the ground under raised beds, but I find that a little effort here helps plants thrive faster.
The shovel also comes in handy for moving bulk soil into the finished bed, especially if I’m using wheelbarrows full of compost or mulch.
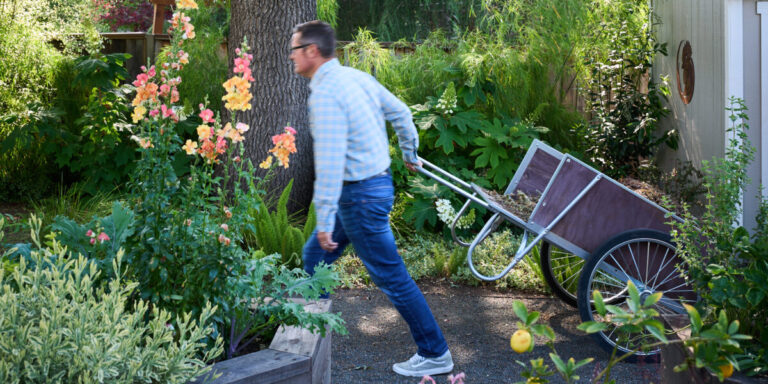
Wheelbarrow for Moving Materials
Whether it’s soil, mulch, gravel, or lumber, I rely on my wheelbarrow to haul heavy materials around the yard. I’ve tried dragging bags of soil by hand before, and it’s a quick way to wear myself out. A single-wheel or dual-wheel model works great depending on your terrain.
I use it not just during setup, but throughout the growing season. From dumping compost to mixing soil, a sturdy wheelbarrow saves my back and cuts the time it takes to get the bed filled and ready to plant.
It may not be a technical tool, but it’s definitely one of the must-have tools for building a raised garden bed from start to finish.
Hammer and Rubber Mallet
Even if I use screws for most of the construction, a hammer is still part of the process. I use it to tap boards into place or to help align them before fastening. If I’m driving in garden stakes or anchoring hardware, it’s essential.
A rubber mallet is also useful, especially when I’m working with interlocking boards or composite materials. It helps seat joints without damaging surfaces. I’ve found that tapping corners with a mallet helps square things up much better than forcing boards by hand.
Keeping both types of hammers nearby gives me better control over alignment and stability while assembling the bed.
Clamps for Holding Pieces in Place
There’s nothing more frustrating than trying to hold a board steady with one hand while driving screws with the other. That’s why I keep a few bar clamps and quick-grip clamps in my toolbox.
I use clamps to hold boards together at corners while I pre-drill and screw them in place. It not only keeps the frame aligned but also helps prevent shifting and warping during assembly.
Clamps might seem like an extra, but they’re truly must-have tools for building a raised garden bed with tight joints and clean edges. Once I started using them, I never went back.
Rake for Leveling and Finishing
After filling the bed with soil, I use a garden rake to level and spread the mix. I also use it beforehand to smooth out the ground under the frame. A good rake with sturdy tines lets me spread compost, remove rocks, and prepare the planting surface evenly.
I keep it nearby from start to finish. It helps with soil prep, smoothing the surface for installation, and final leveling before planting. It’s one of those underrated tools that earns its place on any raised bed project.
Carpenter’s Pencil and Marker
Small tools like a carpenter’s pencil might seem insignificant, but they’re incredibly useful. I use them to mark measurements, note cuts, or even sketch a quick plan on a board while working outside.
A marker also helps label ends if I’m cutting boards to different lengths, especially when building multiple beds. Staying organized with markings means fewer mistakes—and fewer wasted boards. These tools are tiny but essential when building accurately and efficiently.
Protective Gear
I never start a build without proper safety gear. That means gloves for splinters and sharp edges, eye protection when sawing or drilling, and earplugs if I’m using power tools for a long stretch. Even with simple hand tools, gloves protect my hands from blisters and cuts.
A dust mask is also a good idea when working with treated wood or cutting boards. Safety isn’t just about avoiding injury—it’s about working comfortably and confidently from start to finish.
Optional Extras That Help
Some tools aren’t absolutely necessary but make the job easier. A post-hole digger helps if you’re anchoring the bed with corner posts. A framing jig can assist with perfect 90-degree joints. A laser level is helpful on larger installations or when aligning multiple beds.
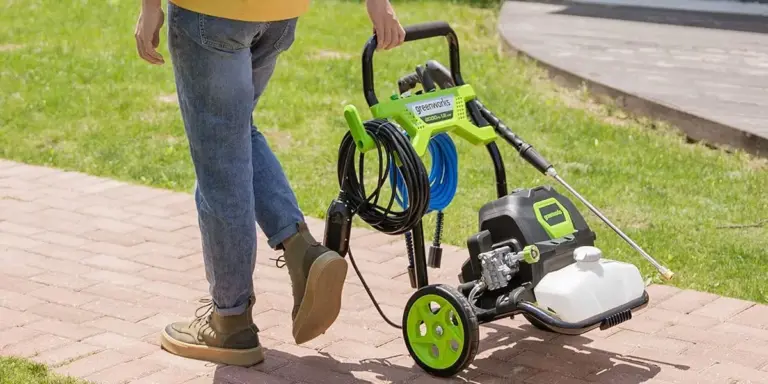
I also keep a garden hose nearby during construction to wet the soil and help settle it. If I’m adding irrigation or weed fabric, scissors and landscape staples come in handy, too.
These extras aren’t always part of the core list, but they round out the build and give it a more professional finish.
Final Assembly Tips
Once everything is measured, cut, and ready, I always do a dry fit of the frame. I lay out the boards and clamp the corners to make sure everything aligns. This is when I check level and make any adjustments.
I use exterior-grade deck screws or galvanized hardware to prevent rusting. I also reinforce the inside corners with brackets or stakes if I’m using long beds—over 6 feet tends to bow outward over time with heavy soil.
Once assembled, I lay down cardboard or newspaper at the base to suppress weeds, then fill with compost, soil, and mulch. The result is a clean, fertile space that looks great and lasts for years.
Final Thoughts
Putting together a raised garden bed is a straightforward project, but only if you have the right equipment. Over time, I’ve learned that rushing in without preparation leads to wasted materials and frustrating results. With a thoughtful approach and the must-have tools for building a raised garden bed, everything becomes more enjoyable—from cutting the boards to planting the first seed.
Each tool on this list serves a purpose, from the first measuring mark to the last rake across the soil. Whether you’re building one bed or planning an entire backyard layout, investing in these essentials will pay off for seasons to come.
With the right tools in hand, building a raised bed isn’t just a weekend project—it’s the foundation of a thriving garden.